Groundsheet fit and fly clearance before buying accessories
Identify the exact tent components and manufacturer requirements before adding a footprint or replacement fly.
Updated:
Identify which component you are replacing or adding
A fly, an inner floor and a separate groundsheet are not interchangeable names for the same part. Start with the tent's model instructions and identify what is already supplied. Parks Victoria's packing checklist, reviewed on 2026-10-27, provides the broader equipment context; the compatibility questions here are an editorial purchasing framework. We have not tested waterproofing or accessory performance. A photograph may reveal separate layers, but it cannot establish the material, dimensions or intended configuration of another model. Write down whether the proposed purchase replaces an original component or adds an optional accessory before comparing listings.
Use the model code and revision, not just the brand
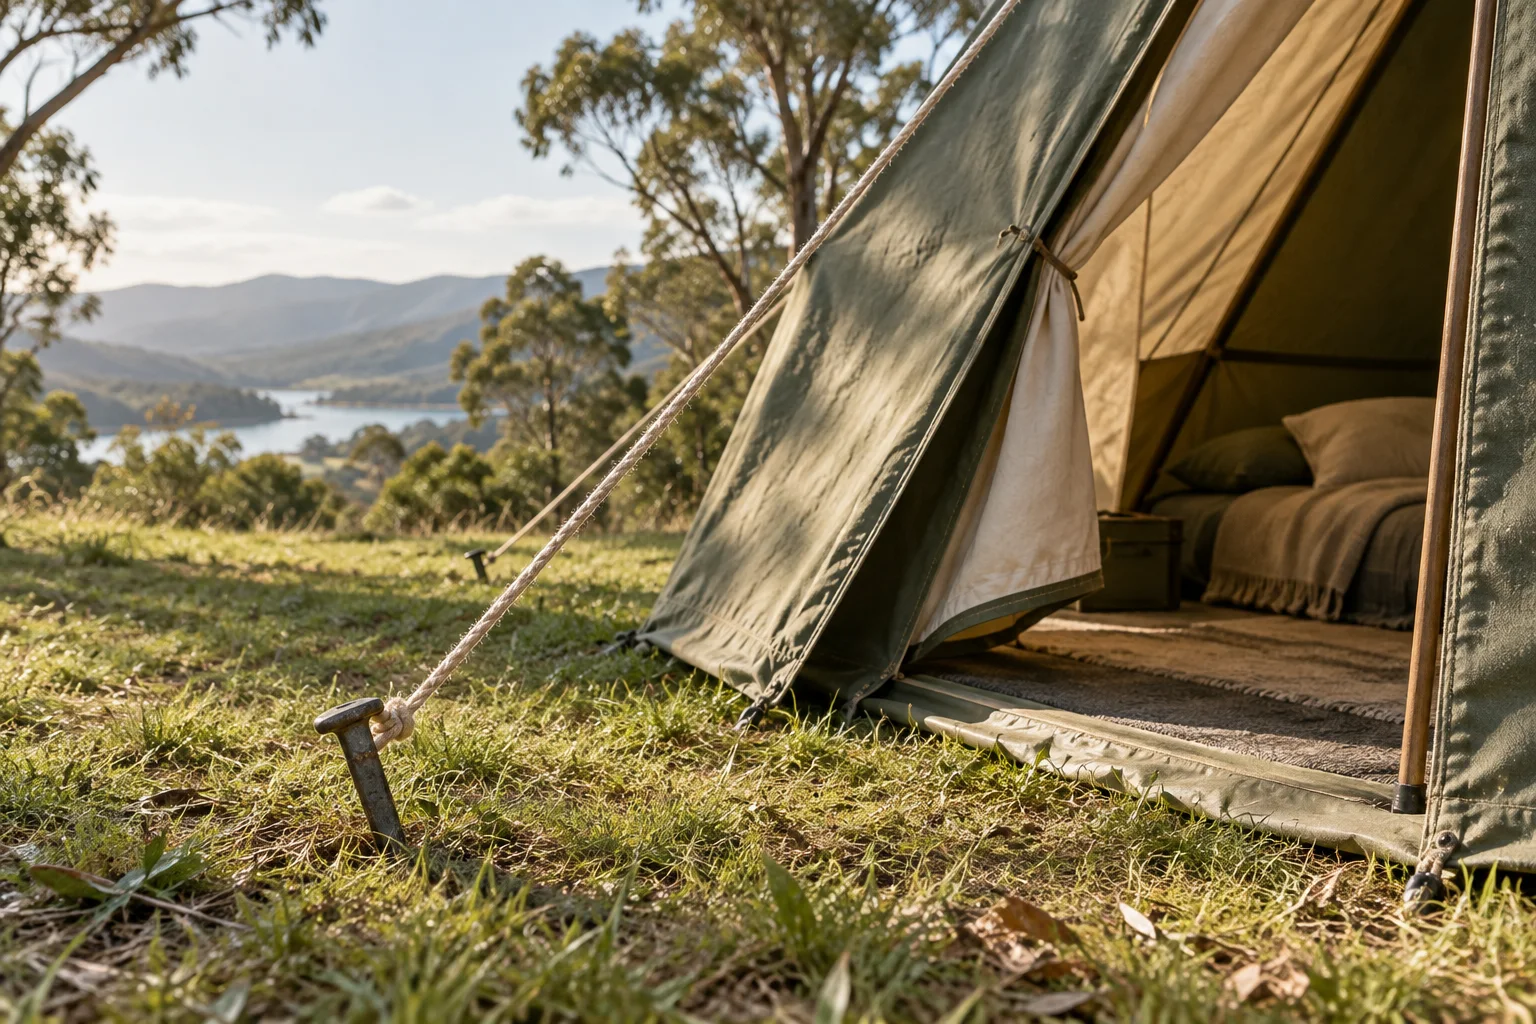
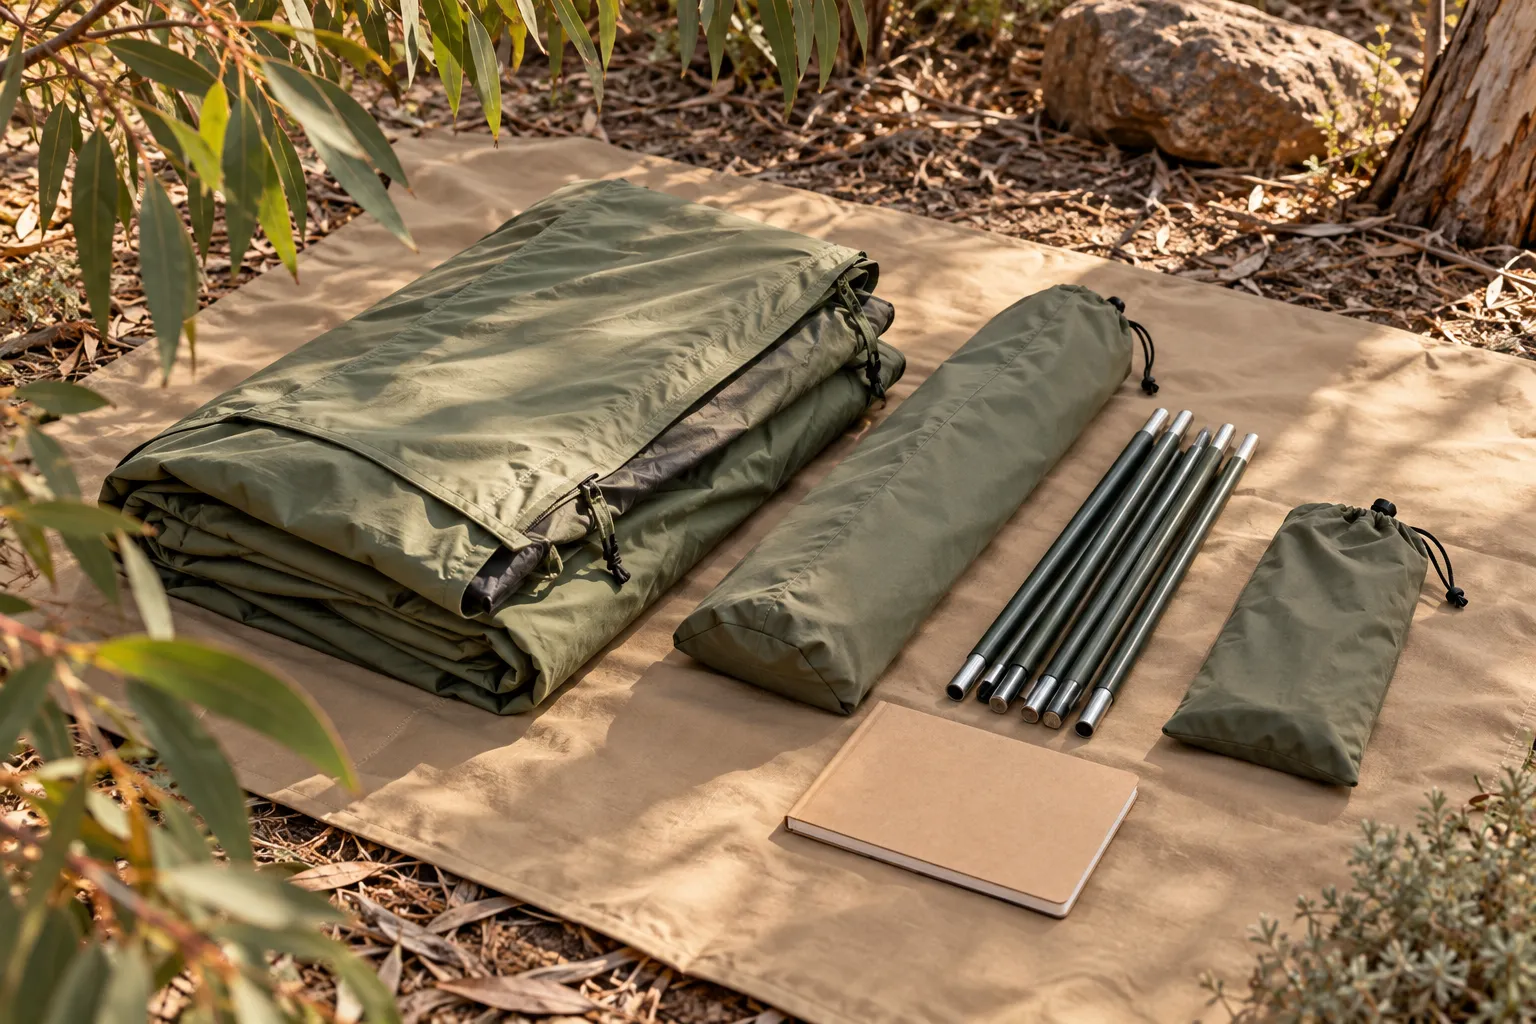
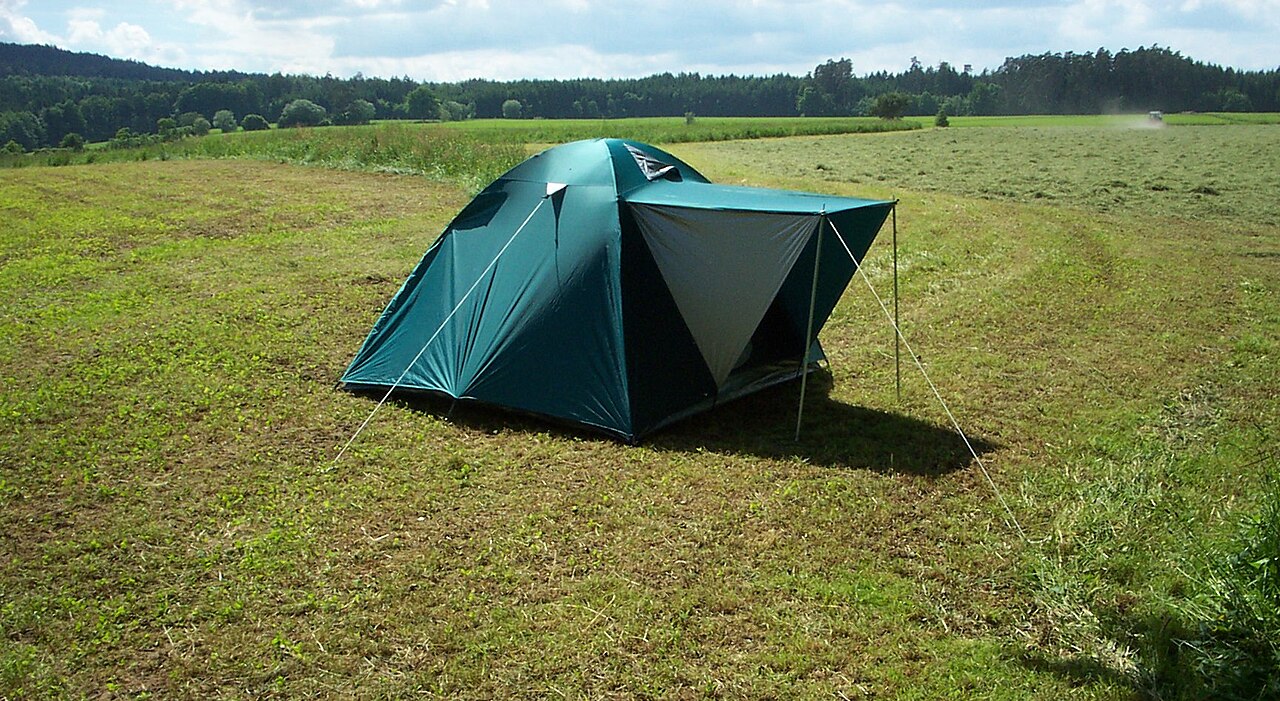
Ask the maker or retailer which footprint or replacement component is specified for your exact tent size and version. A familiar brand name or similar colour does not establish compatibility. Compare attachment details and dimensions where the manufacturer supplies them. The dome-tent photograph shows a covered entrance and separate fabric areas, helping identify what a product description might refer to. The frame-stage photograph shows components before a complete pitch, which explains why an accessory decision depends on the assembled system. Neither photograph is an assembly guide for a different tent or evidence of a waterproof seal.
Keep an illustrative size check separate from installation advice
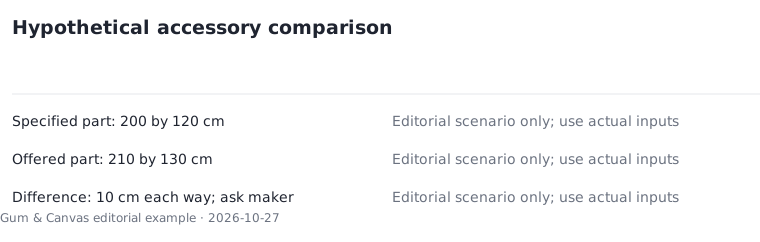
For a hypothetical accessory comparison, assume a supplier specifies a 200 cm by 120 cm part for one model while the offered replacement is 210 cm by 130 cm. The differences are 10 cm in each dimension. That arithmetic flags a mismatch to ask about; it does not tell you to trim, fold or install the larger part. If 2 attachment points differ from the required arrangement, record both as unresolved. Follow the manufacturer's actual sizing and fitting directions. This article intentionally does not provide a universal rule for groundsheet projection, fly tension or clearance because model requirements vary.
Inspect the complete pitch before the trip
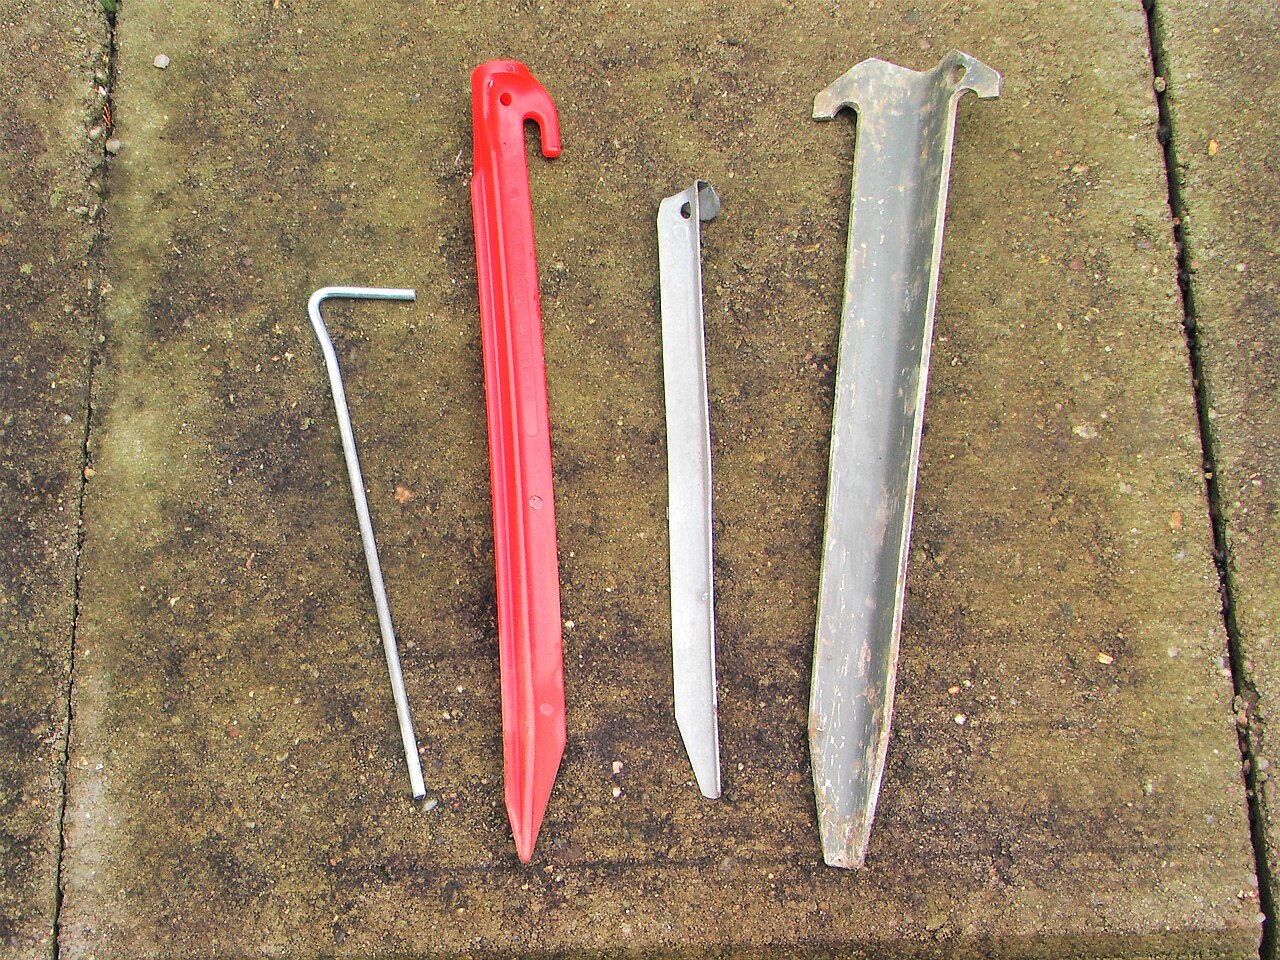
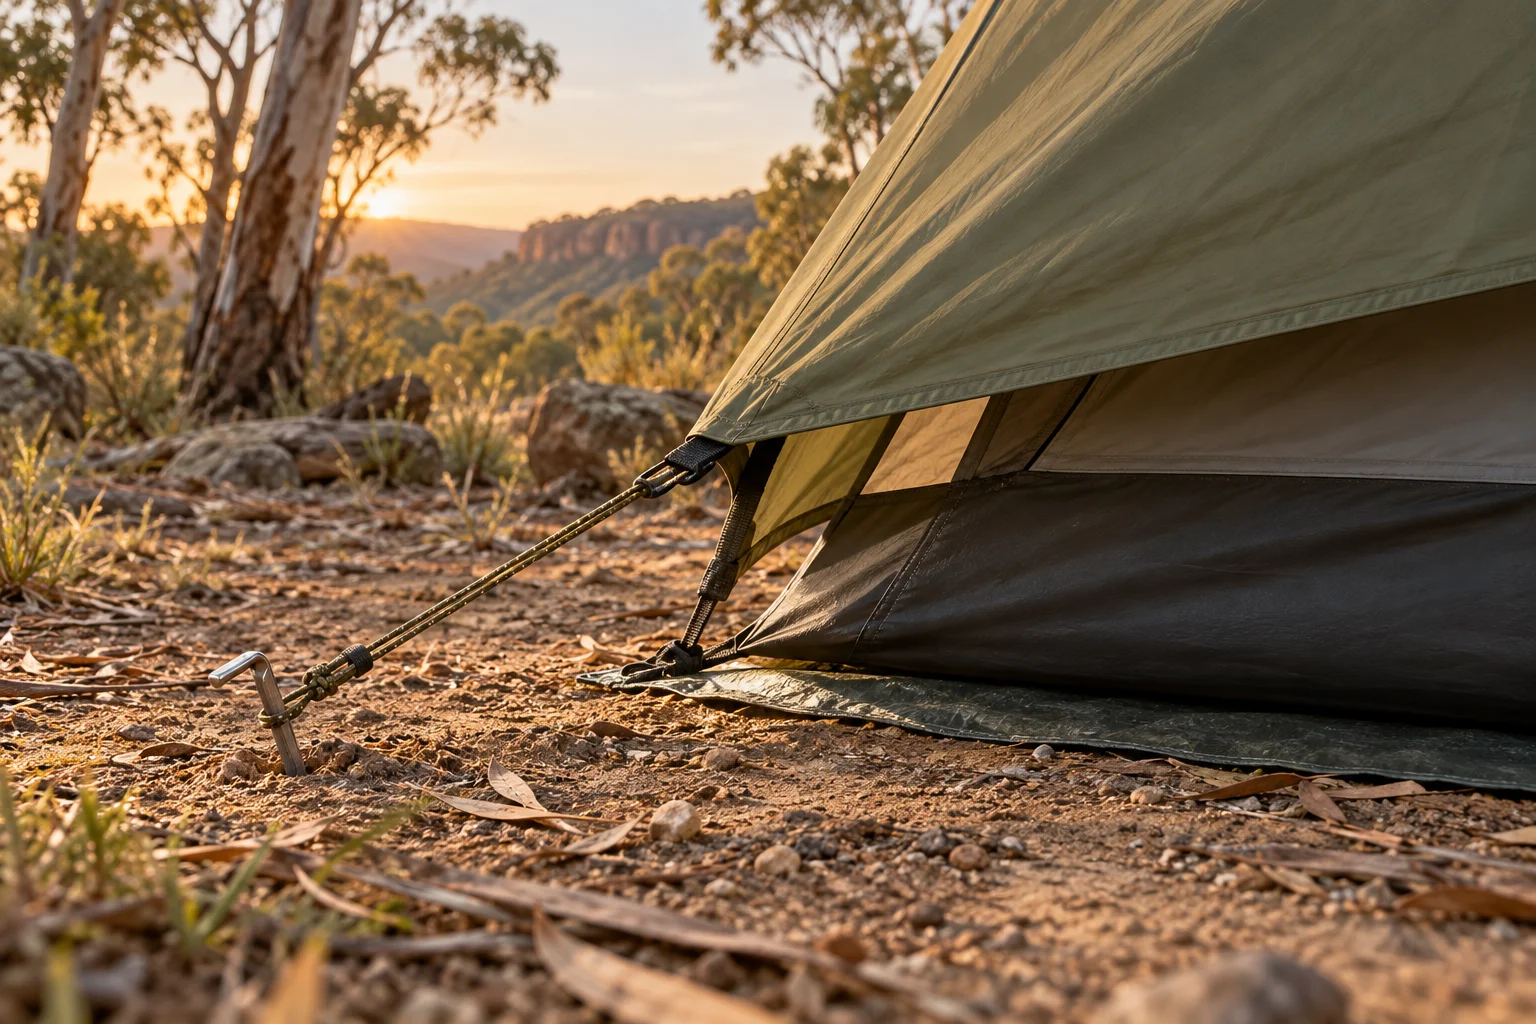
Once the correct parts are obtained, practise using the complete tent according to its instructions. Check that the supplied parts, connections and intended clearances are understood. A hypothetical review might allow 15 minutes to compare the inventory and 20 minutes to inspect the completed arrangement, totalling 35 minutes of planned work. It is not a waterproofing test. The peg photograph shows varied anchoring shapes, reminding the buyer that related components also have model and ground requirements. Do not replace a missing specified item with an assumed equivalent simply because it appears to connect during a brief trial.
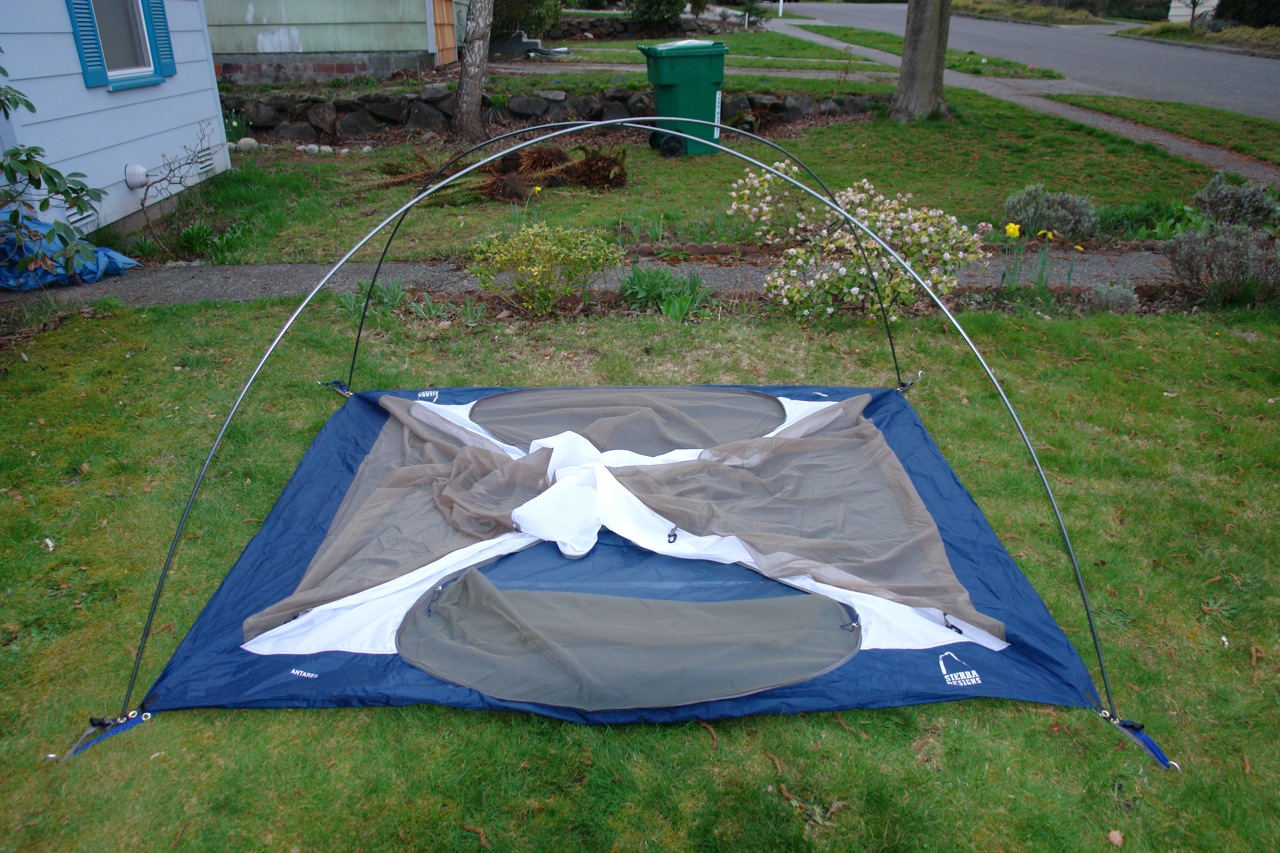
Ask for a compatibility answer you can retain
Keep the model identifier, supplier response and the relevant instruction page with the purchase record. If compatibility is uncertain, pause the accessory decision instead of treating a large piece of fabric as a universal solution. Check care, storage and any restrictions on modifications with the manufacturer. The final outcome should be a correctly identified part used in the intended arrangement, with unresolved issues addressed before departure. Successful assembly does not prove that the tent is appropriate for every destination, surface or weather condition. Continue to check the proposed trip separately from the accessory purchase.